1. Item Name : Torkgo React Next js Template
  2. Created: 22 February 2023
  3. Item Version : v 1.0.0
  4. Author : thetork
  5. Support Ticket: mailto:support@thetork.com

Introduction

Torkgo React Next js Template Documentation

For any support please don't hesitate to contact us at Support Mail. We provide 13 hours real-time support for our customers.

We would like to thank you for choosing Torkgo.

Getting started

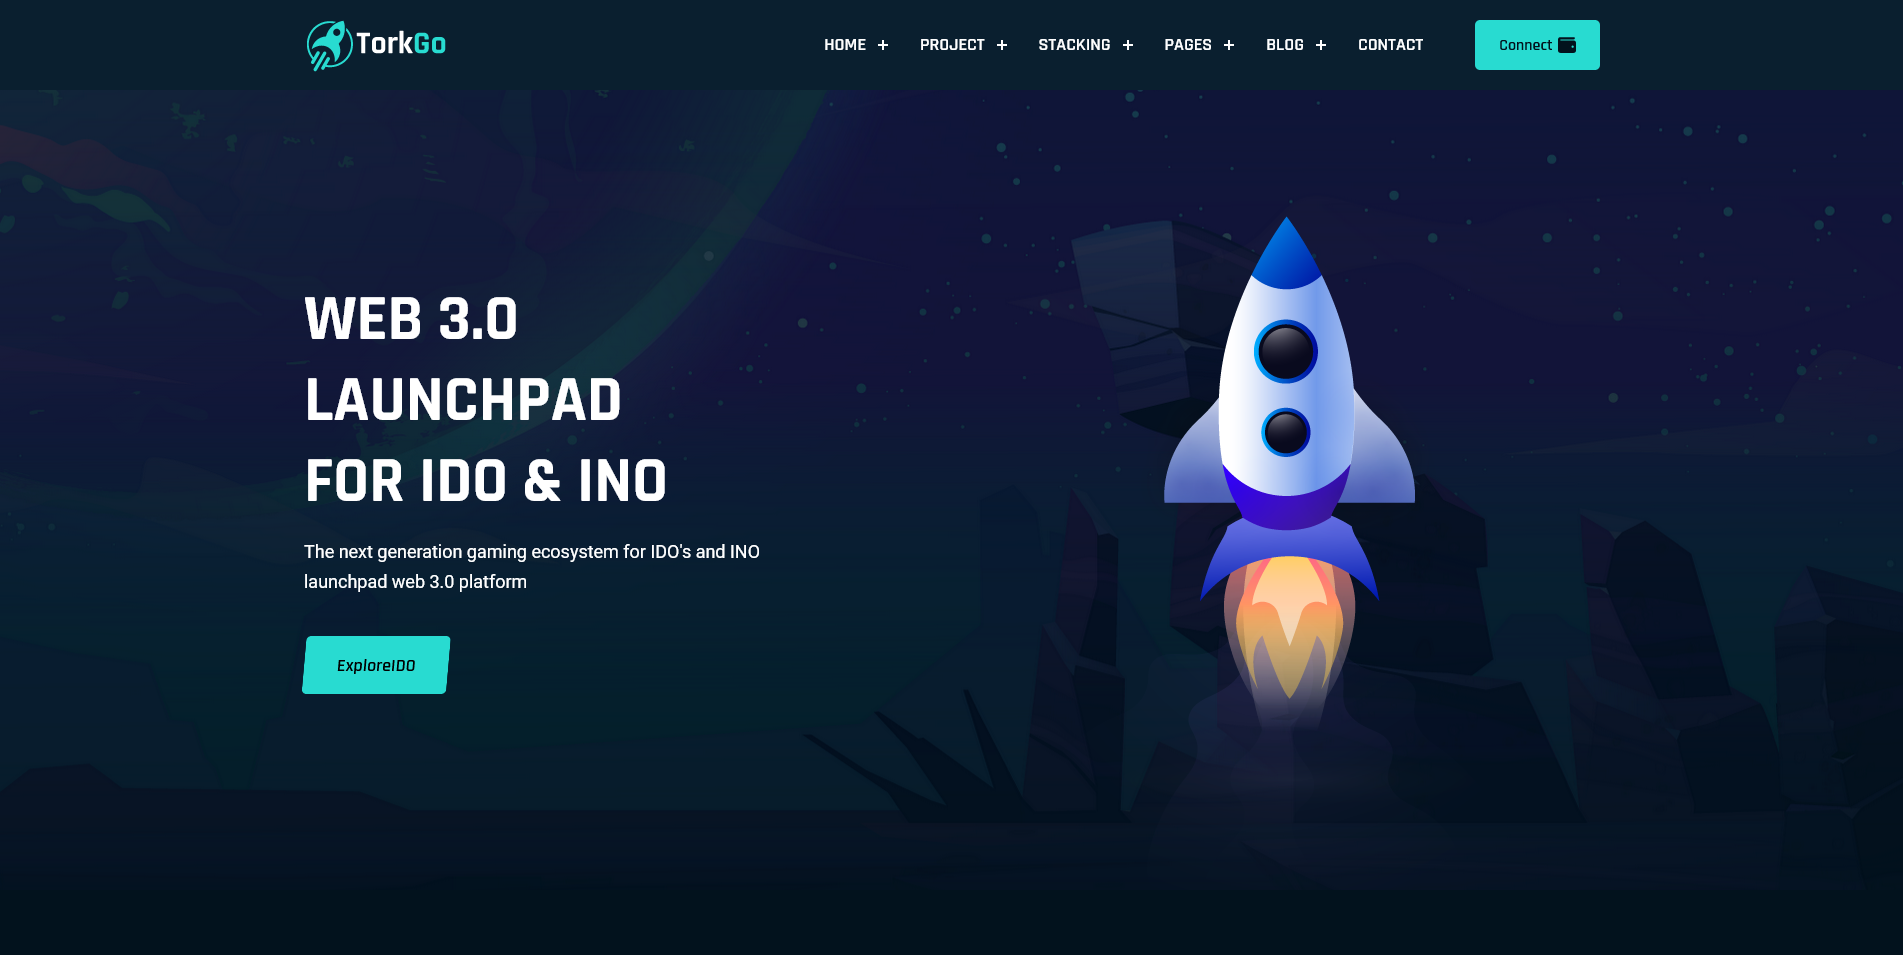
TorkGo – Metaverse Web3.0 IDO/INO launchpad HTML Template is a Crypto token launching platform, It’s Included Live NFT/IEO/IDO/INO Project, Staking, , IDO project Launching. TorkGo is fully complete template for IDO/IDO/ICO,NFT crypto Digital marketplace Bootstrap 5 template.TorkGo Template has modern design and beautiful color Palates. It meets all the need for making Crypto token Launchpad related to various type of pages included in template package. It have all the necessary section and elements Like as Staking, Farming, Tokenomics, Tier Systems, APR Farming, KYC verification form, crypto tokens, and many more.

TorkGo is built with Bootstrap 5 and this is build for Crypto DeFi token launchpad marketplace Website

Requirements

There are system requirements in order to install and setup Torkgo template and its components properly. Make sure that you are installed node.js and NPM.

For nodejs go here Nodjs

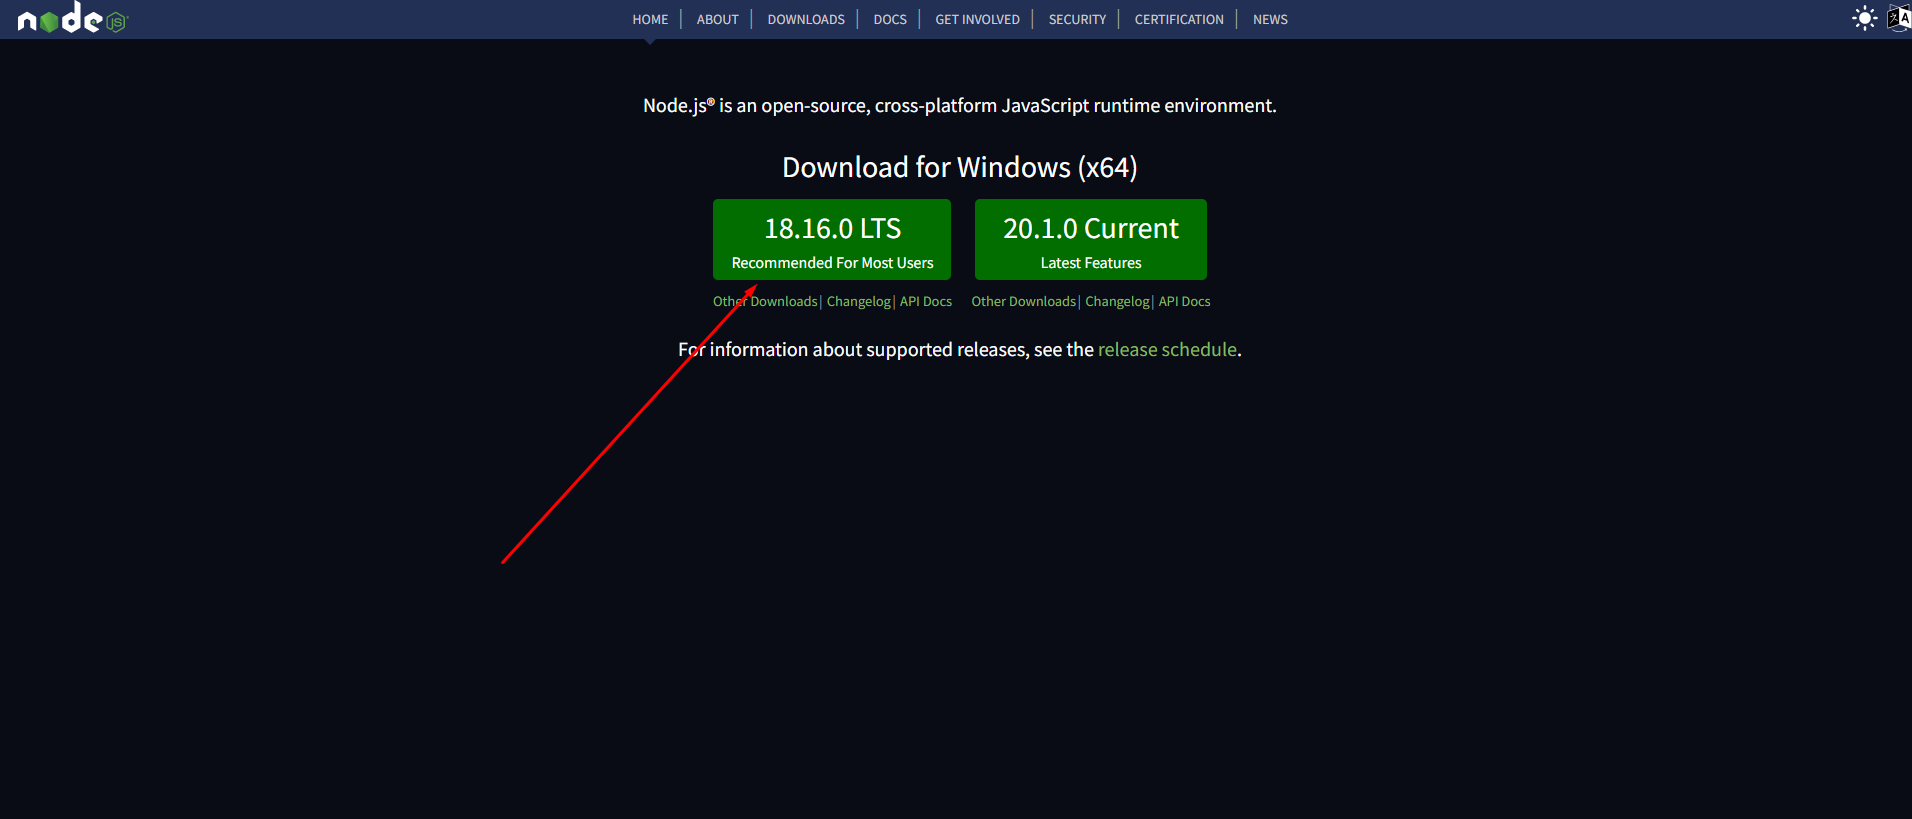
After downloadinig nodejs just double click on the .exe file and complete the installation process. NPM will install automatically with Nodejs

Template Features

  • React JS
  • Next JS
  • Based on Bootstrap 5.x
  • ReactJS without jQuery
  • Free Premium Quality Support
  • Logo Slider Integration
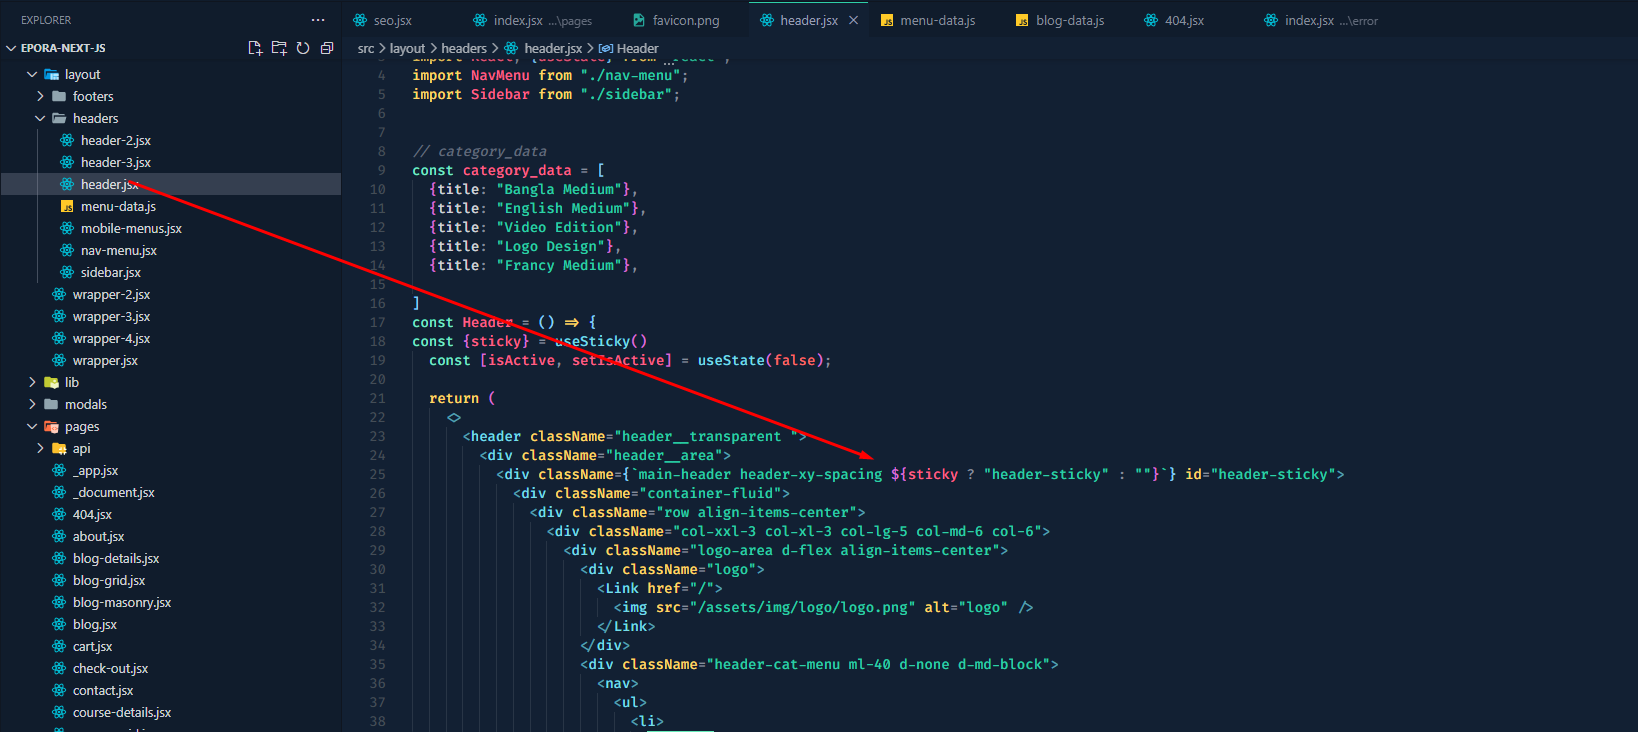
  • Sticky Header
  • Google Fonts
  • 100% Responsive
  • Nice and Clean Design
  • Clean and commented code
  • Customizeable all components of each page
  • Integrated with FontAwesome
  • 3 Home Pages
  • 20+ Inner Pages
  • 3+ Blog Pages
  • Image background
  • Easy to customize
  • Flexible and multi-purpose
  • Valid / CSS3
  • 24/7 Awesome support
  • Detailed documentation

What's Included

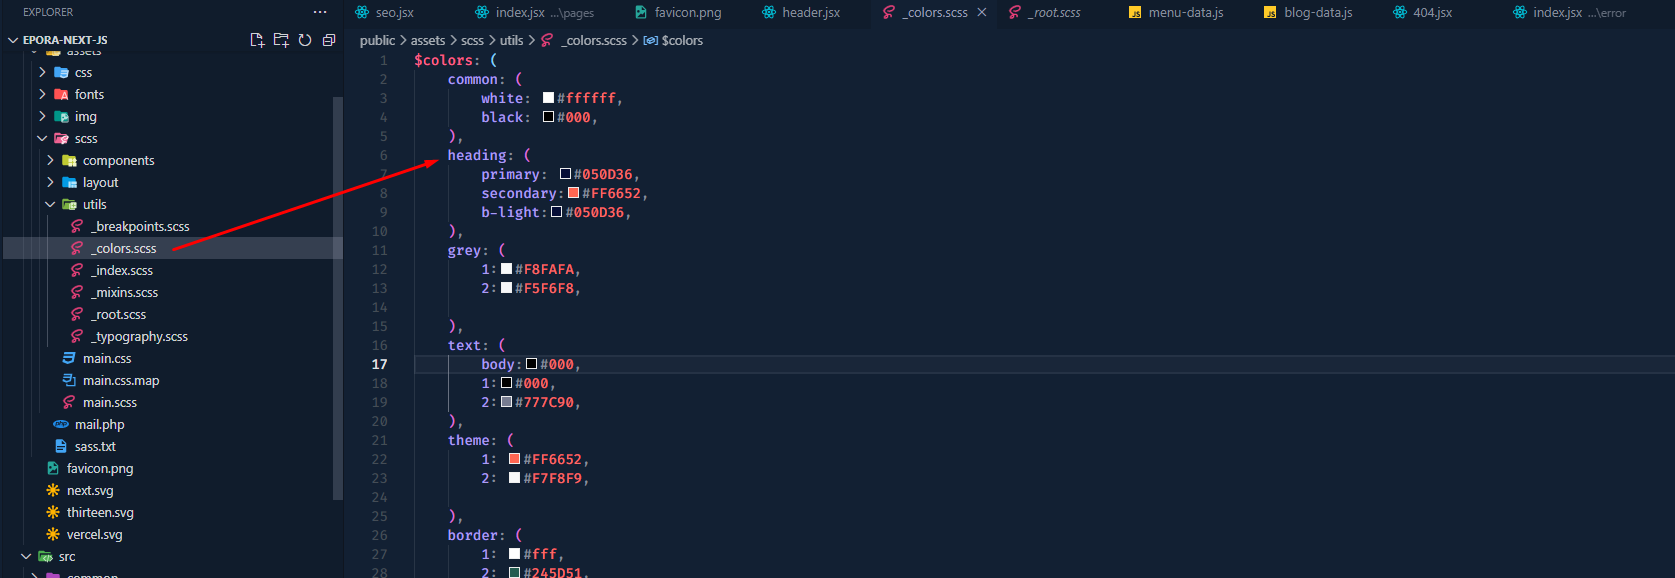
After purchasing Torkgo template on themeforest.net with your Envato account, go to your Download page. You can choose to download Torkgo template package which contains the following files:

The contents of the template package downloaded from ThemeForest

  • Torkgo - An React Next js Template file. this file you can edit and use for your business.
  • Documentation - This folder contains what you are reading now :)

React Installation

Please follow the instructions in the video to see how you can install react on your hosting:

  1. For local host -
    1. Open you command prompt
    2. npm install or npm install --legacy-peer-deps
    3. npm run dev (will start the dev server at http://loaclhost:3000)


  1. For locally build -
    1. Open you command prompt
    2. Open package.json file and edit scripts > build replace this "build": "next build && next export",
    3. yarn build (will build locally and generate out folder in root directory)
    4. yarn start (will start the locally build server at http://loaclhost:3000)
  2. Deploying to Vercel - https://www.youtube.com/watch?v=_8wkKL0LKks


Other Scripts
  1. Open you command prompt
  2. yarn lint:fix (This will format your code and fix auto fixable eslint error)

Basic Site Settings

Change Site Title, Favicon and Page Title

To change your Site title and Favicon open the Outstock in your editor and go to the location by following screenshot which are given bellow.

3.1.1
You can change title here
3.1.1
You can change page title here
3.1.1
You can change favicon here

Customize Menu

To customize menu do the following:

  1. From the project folder go to layout headers menu-dataOpen the menu you want to use
  2. Then customize the menu
3.1.1
Customize the menu

Customize Blog data

To customize blog data do the following:

  1. From the project folder go to data blog Open the menu you want to use
  2. Then customize the blog data
3.1.1
Customize the blog

Customize Course data

To customize Course data do the following:

  1. From the project folder go to data course-data Open the menu you want to use
  2. Then customize the Course data
3.1.1
Customize the products

404

To change 404 and setting you can change by following this screenshot here.

  1. From the project folder go to src components >Error Open the menu you want to use
  2. Then customize the 404 data
3.1.1
Customize the 404

Customize Header

We gave you four header layout. you can modify the header markup there.

  1. From the project folder go to layout headersheader Open the menu you want to use
  2. Then customize the blog data
3.1.1
Customize the header

Colors

To change color and setting you can change by following this screenshot here.

  1. From the project folder go to public assetsscssutils Open the menu you want to use
  2. Then customize the color data
3.1.1
Customize the color

Typography

To change Typography and setting you can change by following this screenshot here.

  1. From the project folder go to public assetsscssutils Open the menu you want to use
  2. Then customize the Typography data
3.1.1
Customize the Typography

Support

If you face any issue please contact us at Support Ticket. We provide 15 hours real-time support for our customers.

Thank you for purchasing our template.